Edit the Utility Navigation
Utility navigation appears to the right of the branding in the default, top navigation, and no-navigation layouts, and just below the main navigation in the left navigation layout. Utility navigation is a great choice for "utility" items—typically, the tools for your internal audiences. It's also the best location for any external links you may need in your navigation. For example, the Fitness & Recreation Center uses a utility navigation item to link to its online registration system. Or, a school or college might have a utility navigation with links to student, faculty, and staff information. If you need to link externally, or you need a place to stash your internal tools, utility navigation is the way to go.
We recommend no more than four items in your utility navigation. You should not use utility navigation just to get a particular type of styling. Use Custom CSS<CSS or change your layout instead.
Editing the utility navigation
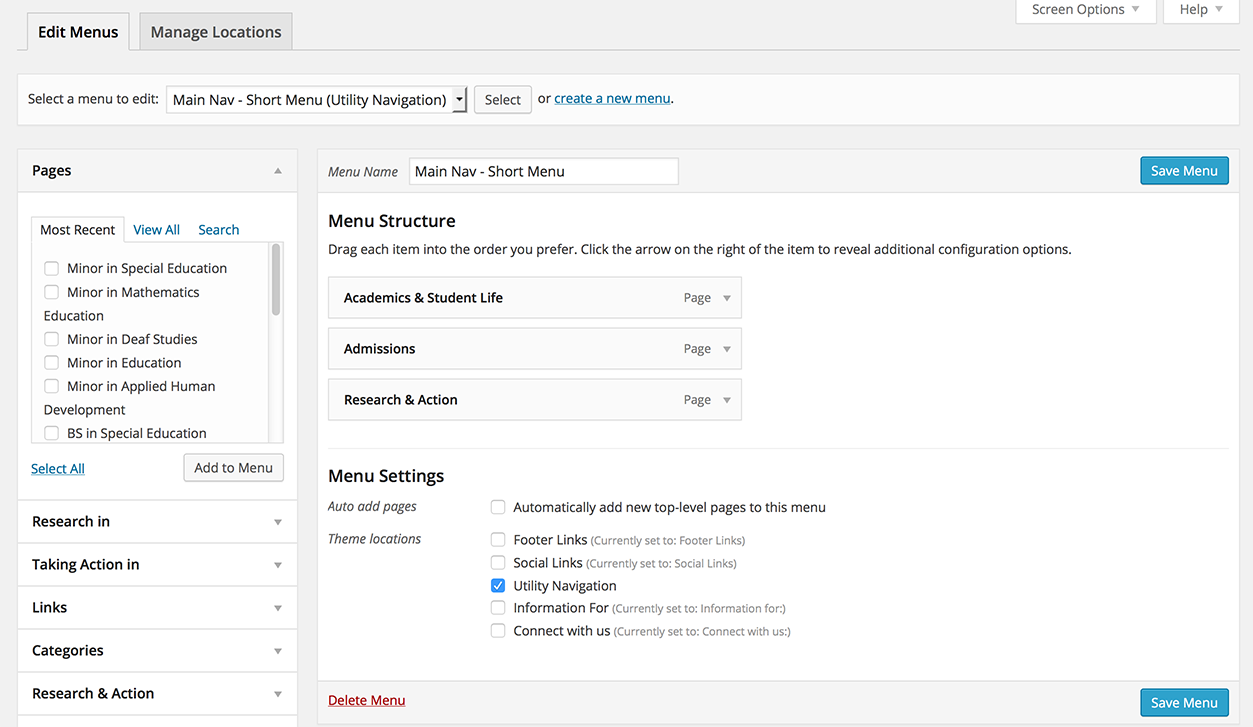
- Go to Appearance > Menus and click the blue "create a new menu" link next to the dropdown in the Edit Menus pane. Name the menu something you'll remember, like "Utility Navigation."
- Add up to three main section items. These will always display in the navigation bar.
- Under Menu Settings, check the Utility Navigation box.
You can always come back to Appearance > Menus to edit this menu again later.