Degrees & Programs
BU Programs is a plug-in that makes it easy to centrally manage degree and program information on your website.
Navigation
The Degrees & Programs post type includes several navigation components to help users understand where they are within a section. The navigation and post hierarchy is managed by the BU Navigation plug-in. You can edit the order and hierarchy of posts by going to Degrees & Programs > Edit Order or by selecting the Placement in Navigation metabox on an individual Degree & Program post.
Subnavigation
Located across the top of the page. This navigation adapts as users make selections to show the next set of subposts to the current post.
Section Navigation
Located at the bottom of the page, between the main page content and the footer. This gives the user an overview of the post and subposts within a section.
Areas of Study
Located beneath the subnavigation. This section includes links back to the landing pages for the related Departments/Divisions or Areas of Study. These are controlled by adding the Area of Study taxonomy to the Degree post.
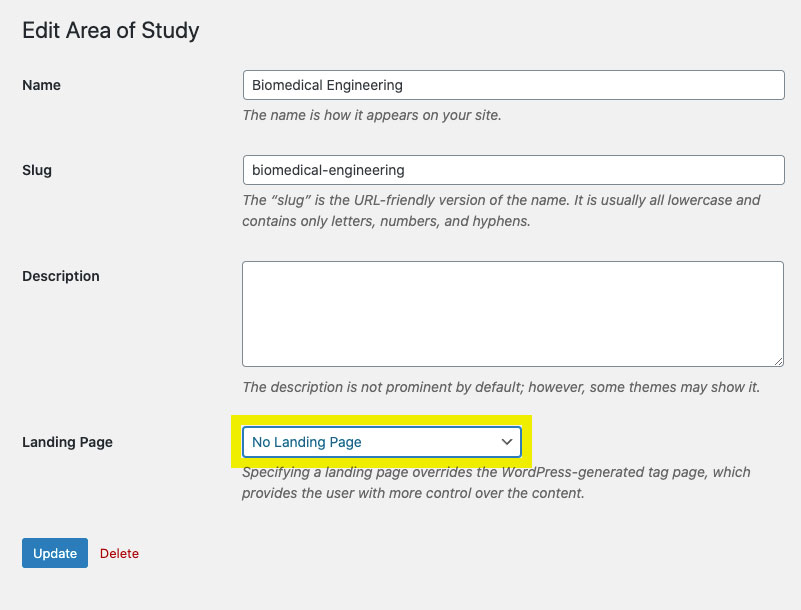
To set the location for these Areas of Study links, navigate to Degrees & Programs > Area of Study. The existing Areas of Study will already be set up for you. To set the link for the Area of Study, choose the one you would like to edit from the list of available Areas of Study. At the bottom of the editor, there is a dropdown labeled “Landing Page”. Choose the main landing page for the selected Area of Study.

Enable Degree Options
To enable degree options for the Degrees & Programs posts, navigate to Degrees & Programs > Enable Degree Options. Select any degree options available within the College of Engineering. This will make it easier for site editors to create or edit Degree & Programs posts, as only the available options will show up within the posts editor site-wide instead of providing you with the full list of degree options. Save changes.
Program Page Settings
Type
Degree
Page
Program
Program Call to Action
BU Programs gives you the option to include a call-to-action button in the top navigation bar. A good example of how this link can be used is to include an “Apply Now” link to drive users to apply to the program.
Setting a Featured Image or Excerpt
To the right of the main editor, there are sections for Featured Image and Excerpt. The Featured Image chosen will be used as the thumbnail image for the degree program on the Explore Degree Programs page and anywhere we include a list of related degrees. The Excerpt field is optional and can be used to create a manual excerpt for the post if you want to override what is generated automatically.
Block Editor
The content area for Degrees & Programs posts uses the new block editor from WordPress. Some examples of commonly used block are:
Media & Text

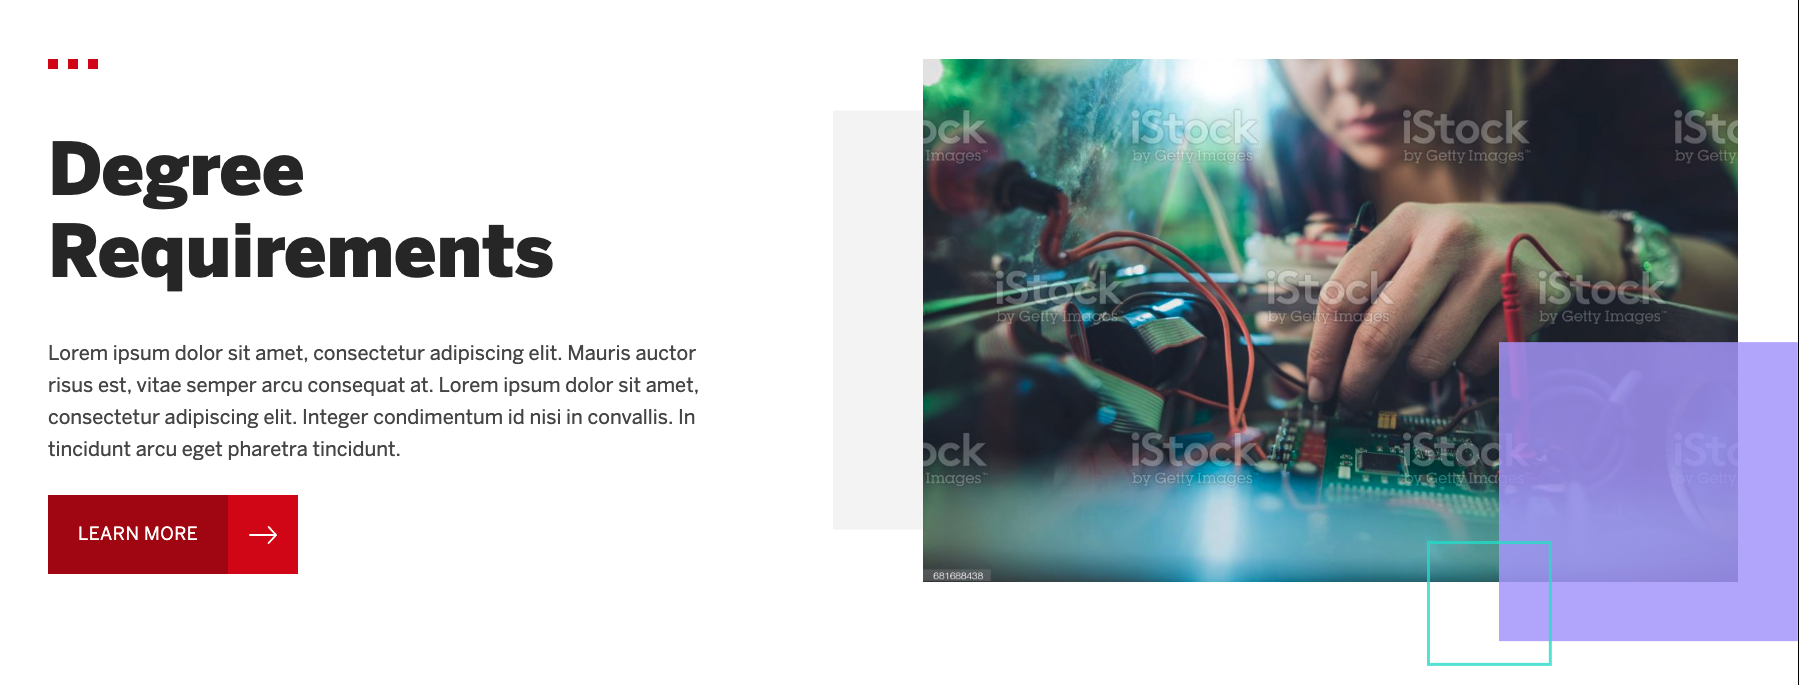
Used to display an image next to a short amount of text. This is a great way to add some visual interest to the page and help break up content and make it more readable for users. You have the option to choose whether you want the image to the right or left of the text. You have a number of options of content blocks that you can add to the content section of this block, including a heading, paragraph, button, etc. It is recommended that both the “Stack on mobile” and “Crop image to fit entire column” options are selected for best results.
Cover

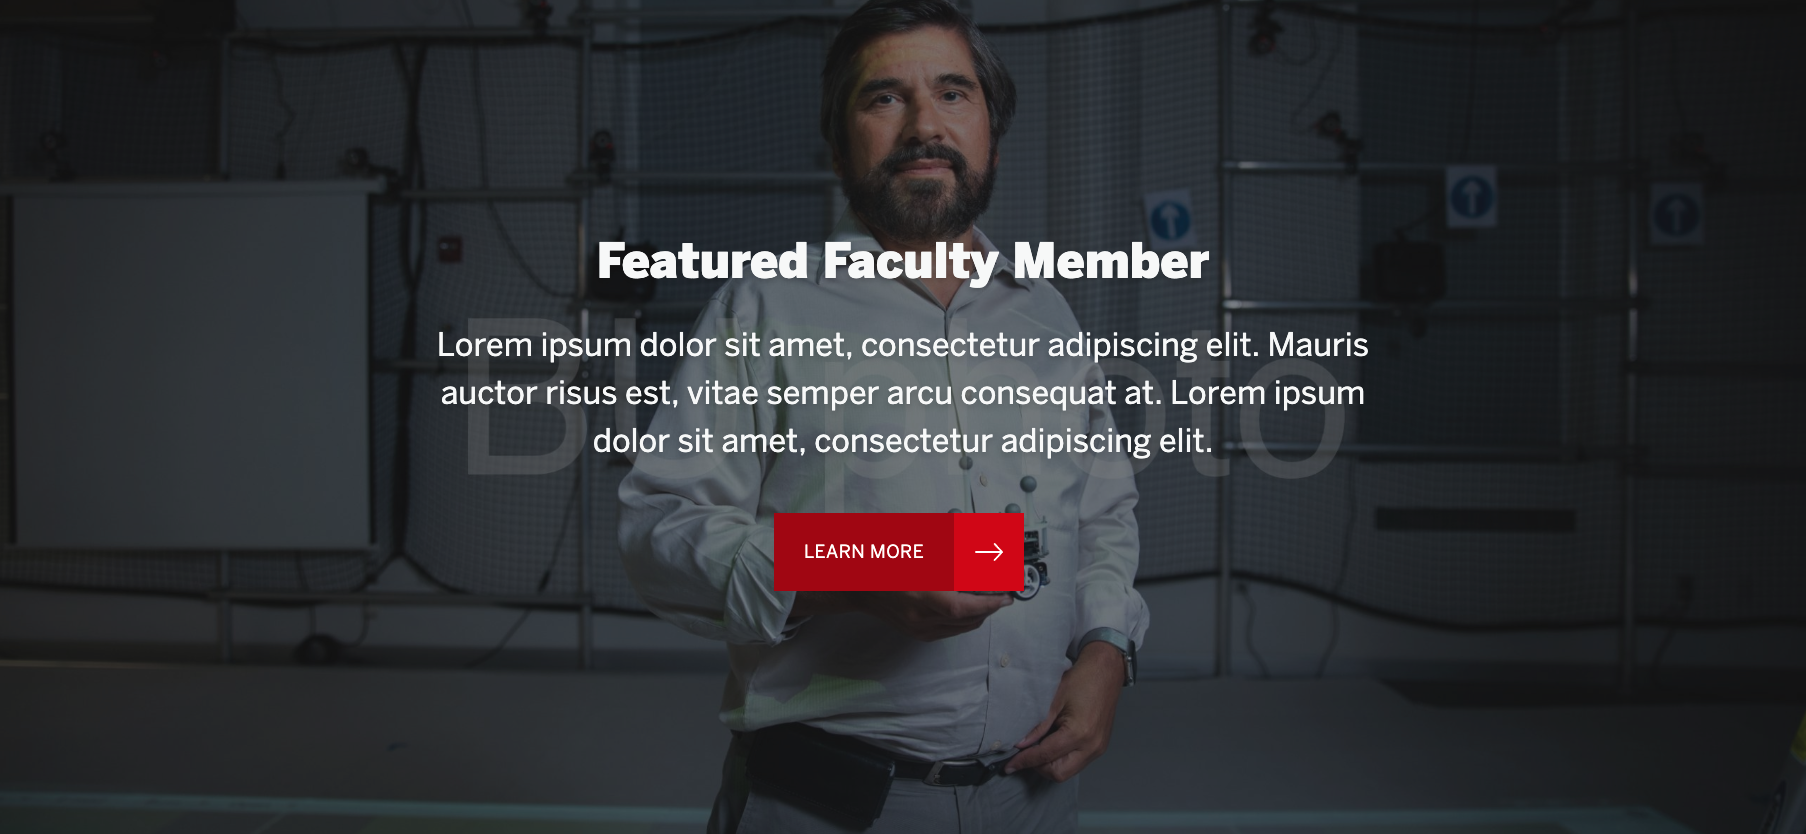
Used to display a large image with text overlaid. Another great way to break up content on a page and add visual interest. You can add a number of different content blocks on top of the image including a heading, paragraph, button, etc.
Shortcode
Used to include shortcodes within the block editor. An example of a great way to utilize this block on Degree pages is to use profile shortcodes to show related faculty or staff profiles. You can also use this block to pull in Course Feeds that display courses required for a particular degree.
Form
Used to display a form on the page. Select the desired form from the dropdown in the block editor.
Call to Action

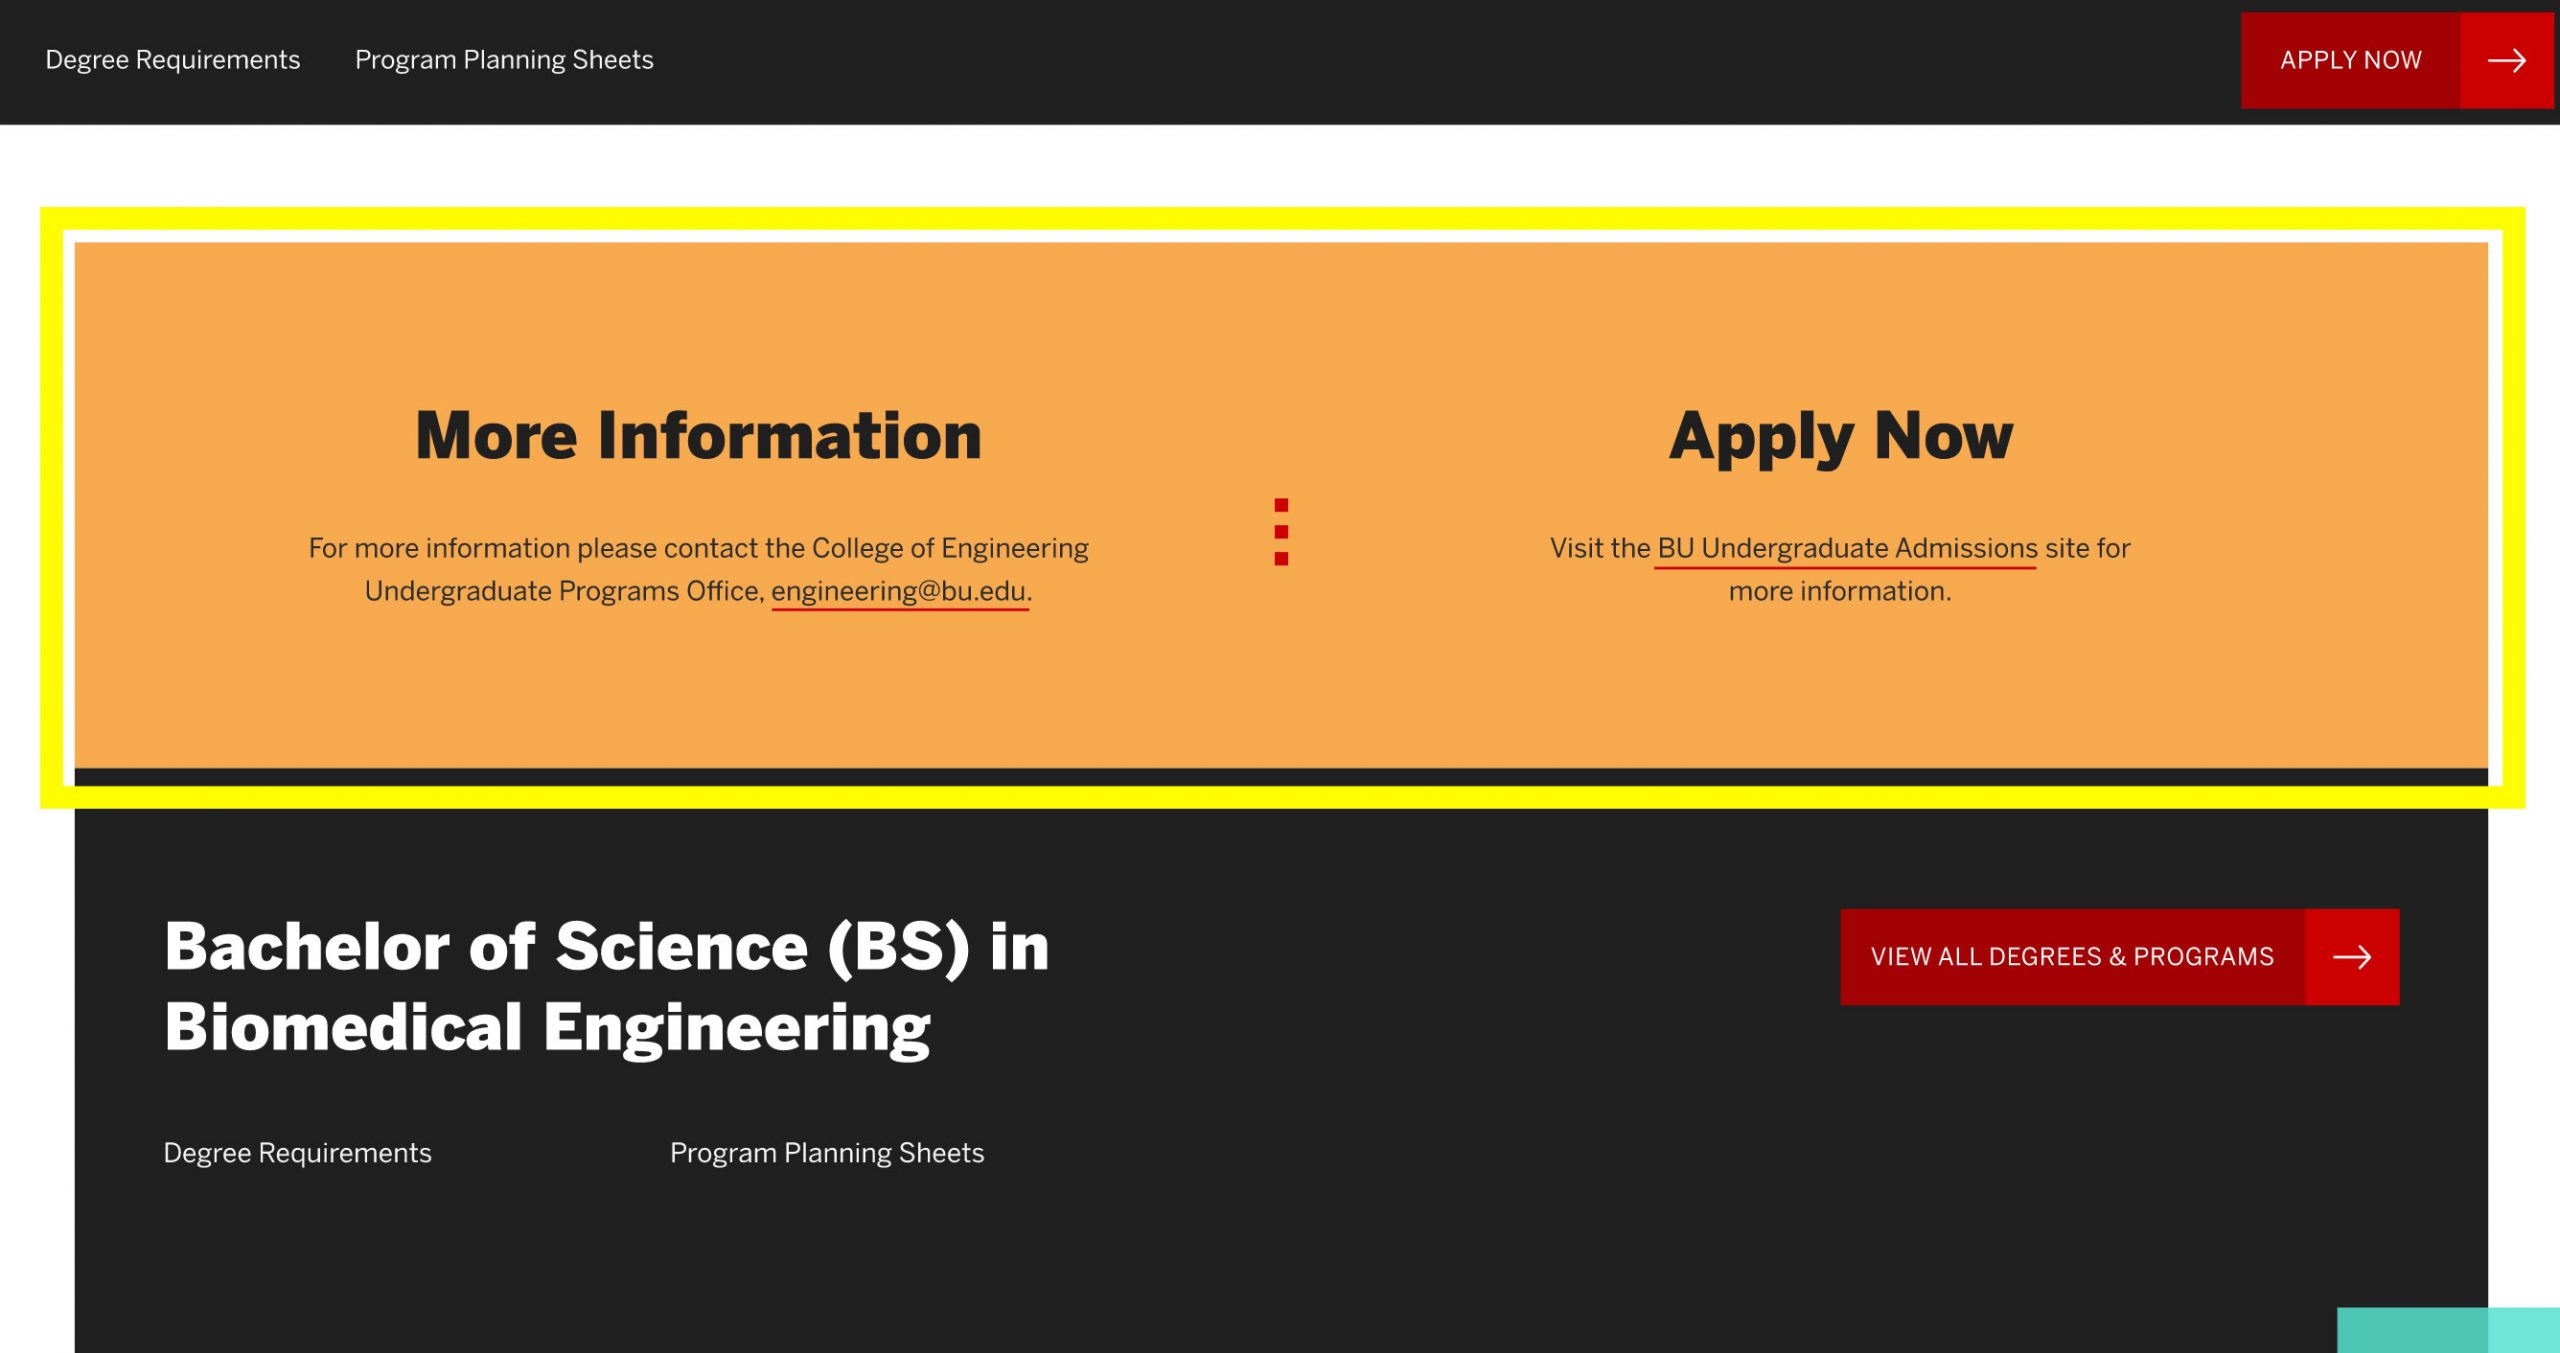
To recreate the call-to-action style block at the bottom of a BU Programs past:
- Add a group block. In the block settings, under the Advanced tab, add “call-to-action” to the “Additional CSS class(es)” field. Under color settings, select orange as the Background Color. You do not need to make a selection for Text Color.
- Add the columns block within that group block. The preferred layout for this block is the 2-column equal split layout.
- You can then add a number of content blocks to each column including a heading, paragraph, button, etc.